
I run my Chef cookbooks on DigitalOcean. Only problem is, when the OS isn’t supported anymore DO removes it from their supported images.
DO created something what they call: Custom Images.
I created this vm with Vmware Fusion, because i have it installed om my laptop.
-
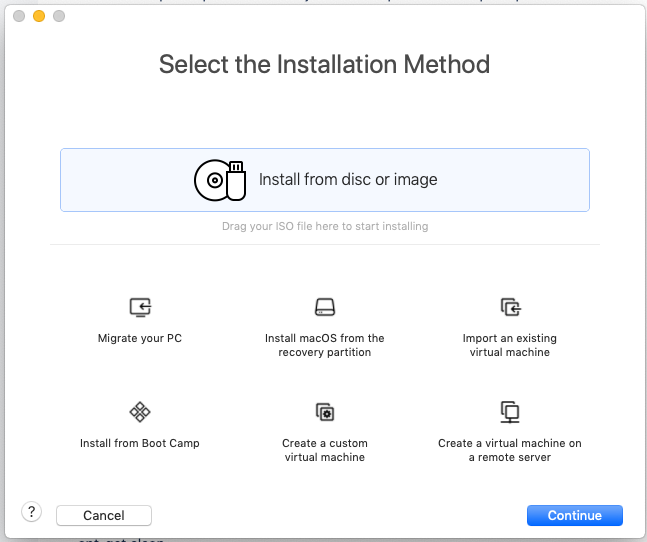
- Start Fusion and choose to create a custom install.
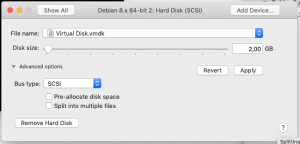
- DO bills you for the amount of diskspace you use, so we will keep the image as small as possible. I managed to get it inside a 1GB image, 2GB would be easier. Click customtize settings before finishing. When choosing the size click on advanced options and deselect Split into multiple files

- Start Fusion and choose to create a custom install.
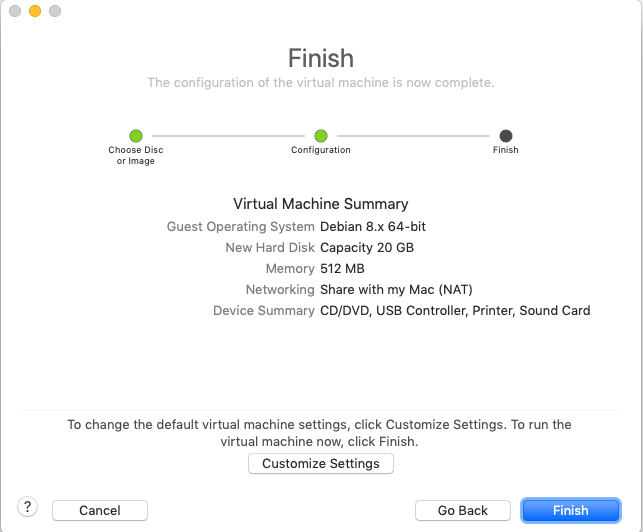

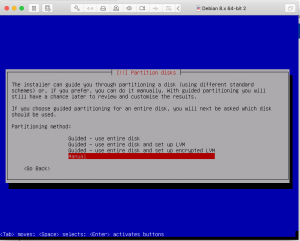
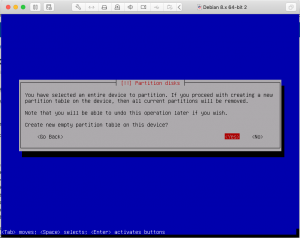
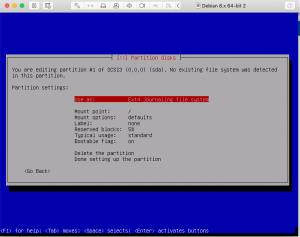
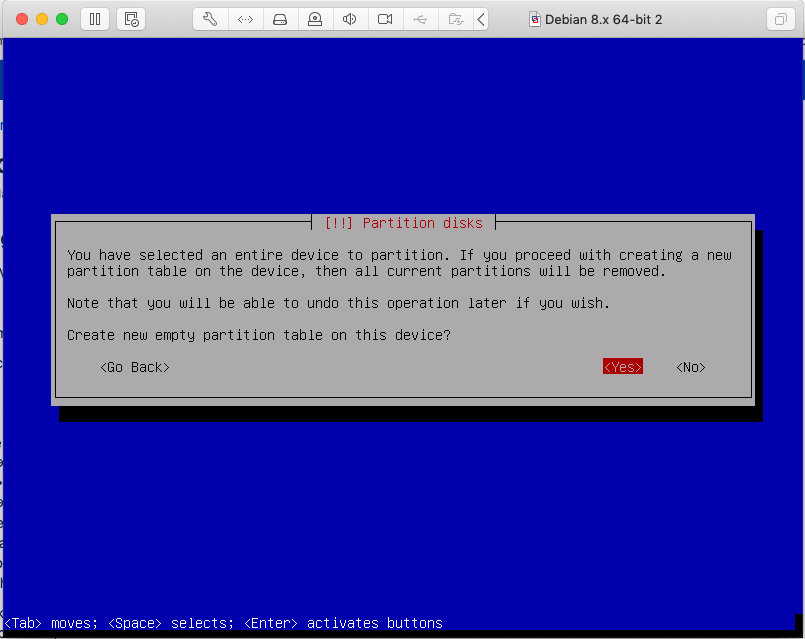
These are my options during the installer.
-
- Language → English
- Country → Other → Europe → Belgium
- Locales → United States
- Keymap → american English
- Hostname → debian
- Partitioning → Manual → Remove all partitions, and create only 1 partition

- package survery → no
- Grub boot loader → yes
- Grub boot loader → /dev/sda
- echo -e “/dev/vda1\t /\t ext4\t errors=remount-ro\t 0\t 1” > /etc/fstab
- reboot the server


Last steps before uploading.
- apt-get update
- apt-get upgrade
- apt-get dist-upgrade
- apt-get clean
- apt-get install sudo openssh-server
- Digitalocean uses cloud-init to configure the images. Cloud-init depends on some python packages. The latest version in debian jessie doesn’t support DO yet, which makes the initializing process slow. As the cloud-init package doesn’t have any wierd dependecies i just wget the package.
- apt-get install gdisk python3-configobj python3-configobj python3-jinja2 python3-jinja2 python3-jsonpatch python3-jsonschema python3-oauthlib python3-requests python3-six python3-yaml python3-serial
- cd /tmp
- wget http://nl.archive.ubuntu.com/ubuntu/pool/main/c/cloud-init/cloud-init_18.5-45-g3554ffe8-0ubuntu1~18.04.1_all.deb
- wget http://ftp.nl.debian.org/debian/pool/main/c/cloud-utils/cloud-guest-utils_0.29-1_all.deb
- dpkg -i cloud-guest-utils_0.29-1_all.deb
- dpkg -i cloud-init_18.3-5_all.deb
Recent Comments